Hi again, here is my 3rd report
Completing the chassis
To start, I had to close the cockpit. Since I'll never have such good access to it later, I made the steering wheel. If you look closely, you can see the display and rev ligths, the buttons and the gear paddles.


That done, I cut out the top of the monocoque (and nose)

and glued it in place:

Next, the turning vanes. Not much to say about them, but you can see a slot at the front end. Also, note the TV cameras on top. I had to cut a little hole in the cardboard for them.

And here it gets interesting. Sidepods. They consist of a layer of red on top and one black underneath, carefully shaped and curved.

Gluing them in place wasn't easy, because they were flexing in the opposite direction, but eventually I got it. Also, I added the white line.

Next, the head rest and protection + TV cameras

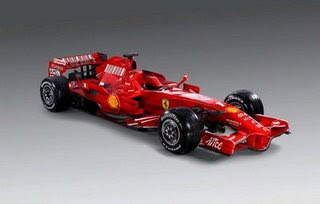
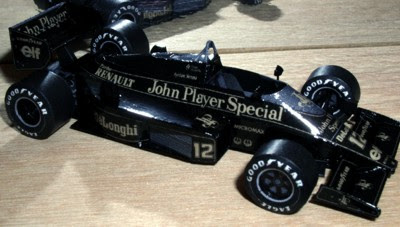
And the final thing I'll cover in this report is stickering. This time, I decided to print out the logos for more precision. I used Adobe Illustrator to prepare them- find the corresponding logo on the internet, trace it, change colours (if required) and then scale it. After printing, I cut them out, coloured the edges of the paper with a felt-tip pen (as Paul taught me) and glued them with a waterbased varnish that serves as glue. A layer of the same varnish followed. Next, I mounted the mirrors. Finally, I painted it with 2 layers of proper high gloss varnish. Here is the result:


I know that it isn't perfect, but I'm pretty satisfied with it. Next step- floor.
Comments are wellcome

Cheers


